How to import subscribers
Import tool helps upload subscriber contacts and personal data into Sendsay. To start the import process, go to Subscribers → View subscribers and click the blue button Add subscribers. You can also upload your subscriber data directly into the list on the Lists page.
To import the data, complete the following three steps:
1. Upload subscriber data
On the Subscriber import page, you can add the data manually into the text field, or upload it from a file (.csv, .xlsx, .txt, .zip). Make sure that each line only contains data for one subscriber. Different lines must contain subscriber data in the same order. Each subscriber should have at least one contact: email or phone number. Subscribers without contacts will not be imported.
In Excel, paste your data into the spreadsheet. In other file types, separate the data with commas, vertical bars or tabs. Check that you use the same separator in each line. If some subscriber data is missing, place two consecutive separators (spaces between symbols are optional). Below is an example of two subscribers, where the first line has complete set of data and the second is missing a name and a city:
email1@gmail.com, Peter, Jones, Atlanta, 1970-01-21
email2@gmail.com, , Williams, , 1980-10-18
The date format is YYYY-MM-DD. Phone numbers should consist of 10 or 11 digits. There is no particular format for the phone number; it can include parentheses and spaces or contain digits only.
If subscriber contacts contain typos or data does not correspond to the field format (e. g. the text is inserted in the numeric field), the subscriber will not be imported. Later, you can view an error list in the import report. If you do not want to import a particular subscriber, type # at the beginning of the line. For example:
#email5@gmail.com, Andrew, Prats, New York, 1989-01-01
When email addresses are uploaded, click Continue.
2. Configure import settings
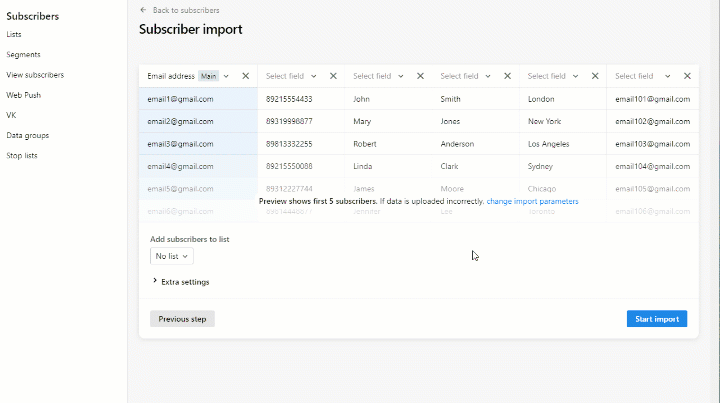
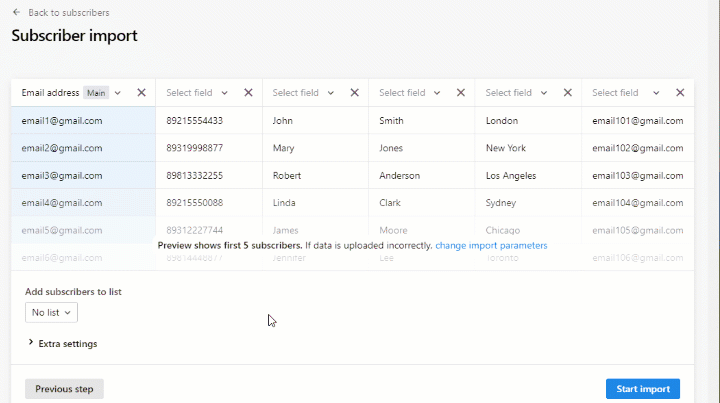
Check if the data is displayed correctly
On the settings page all subscriber data is shown in a table. If you see unknown symbols or different columns are merged in one, click Change import parameters and change the encoding or separator. If the first line in the file has column titles, select the First line contains column titles check box, and it will not be imported.

Select fields to store data
In the column headers, select fields to save the data. If there is no appropriate field, you can create a new one.
Select the primary contact
You will not see this option if you import subscribers to the list or subscribers have just one contact
Your account cannot contain subscribers with the same contacts. If you import the data that already exists in the system, it will be merged in one subscriber profile. In order to do this, you need to mark the primary contact (it is subscriber email by default). All other information will be attached to it.
There are two ways of data merge:
- the system already has the primary contact → all data from the line will be added to the existing subscriber profile replacing the previous information
- the system already has other information which is not listed as the primary contact → new data will be added into a new subscriber profile while the existing information will be removed from other subscriber profiles
Select or create a list for new data
You will not see this option if you import subscribers directly into the list
We recommend adding subscribers into the list as it will simplify your work in the future.
Configure extra settings (optional)
Extra settings are necessary for automations. By default, import does not enable triggers “Subscriber added” or “Data changed”. To change this, click Extra settings and click Allow import to trigger automations.
When you set up import parameters, click Start import.
3. Wait until the import is finished
The import time depends on the file size: the more subscribers it contains, the longer the import may take. You can track the import process in the Task journal.
You will receive a report with import results to the email indicated in your account settings. It will be also available in the Task journal. If you want to check the import results, open any subscriber profile and go to the Data tab.