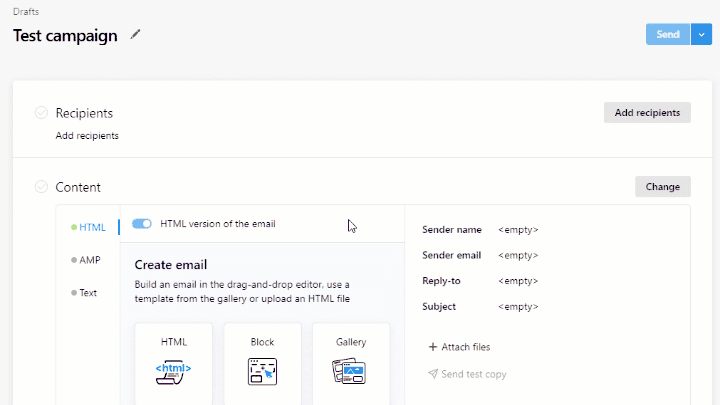
How to create an email in the drag-and-drop editor
The drag-and-drop editor is a visual email builder where you can design emails using various content blocks (images, text, buttons).
To create an email in the drag-and-drop editor, follow these five steps:
1. Select a template
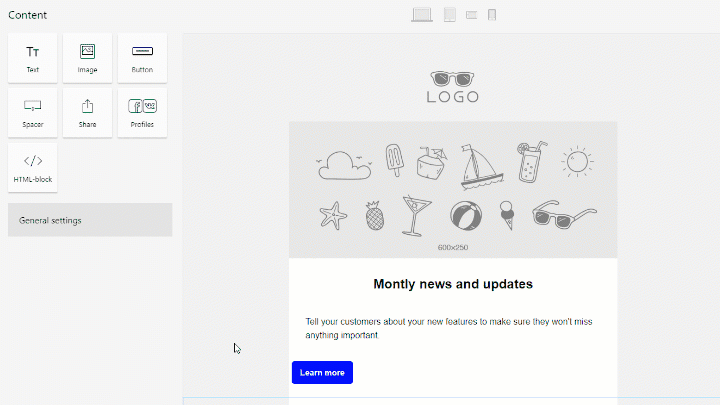
In the drag-and-drop editor, you can create emails from scratch or use templates. There are two types of templates:
Basic template is a set of content blocks designed for the purpose of the campaign type. There are six basic templates:
- welcome email
- product catalog
- informational email
- special offer
- newsletter
- confirmation email (available, when you create a template on the Content page)
Theme is a layout with a ready-made design. All you need to do is add your text, contacts and brand logo.
Any email can be saved as a template. Templates are stored on the Content page. To use your own email template for the campaign, open the Favorite tab in the left column of the editor.
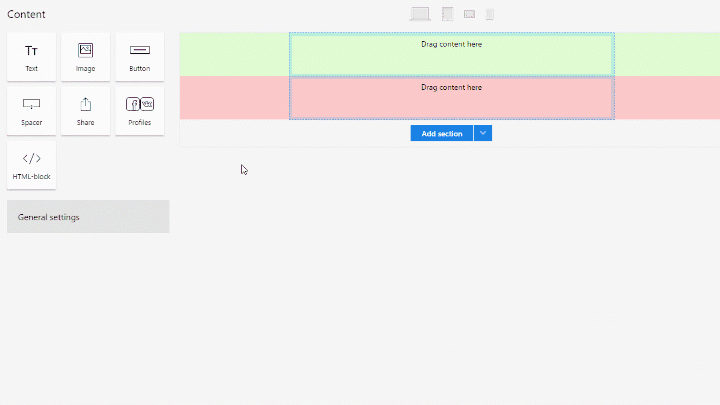
2. Add sections
Email consists of sections. Each section has three settings:
Style sets the background color or image for the whole section and for the central content block.
Personalization sets the section's visibility for subscribers, so you could show it only to a selected group of your audience.
Columns. Sections can have up to four columns with adjustable size and indents.
Click a section to open the settings. At the same time, three icons will appear on the right. Use them to move, copy or delete the section:
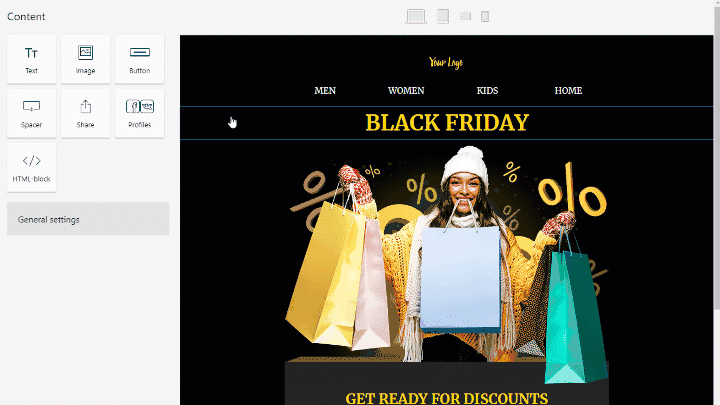
3. Add elements
There are seven types of elements in the drag-and-drop editor:
- text
- images
- buttons
- separator (a transparent block that visually separates the sections from each other)
- Share content block (for Facebook, Twitter and VK)
- social follow content block
- HTML block
The recommended image formats for email are JPEG and PNG. You can also use GIF and SVG, but such images may not be displayed in some email clients.
For images to display well on retina-displays, it is better to use images with a width of no more than 1200 px. Images weighing up to 1 MB can be used without loss in display speed
To add an element, click and drag it to the corresponding section. If you want to delete it, drag it to the recycle bin (it will appear if you click the element and hold the left mouse button).
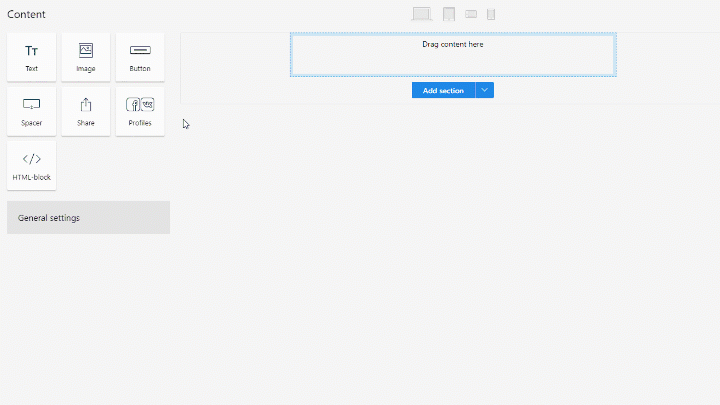
Each element has its own settings. Click the element to open it.
If there are any layout errors in the HTML block, other elements can be displayed incorrectly
4. Configure your email settings
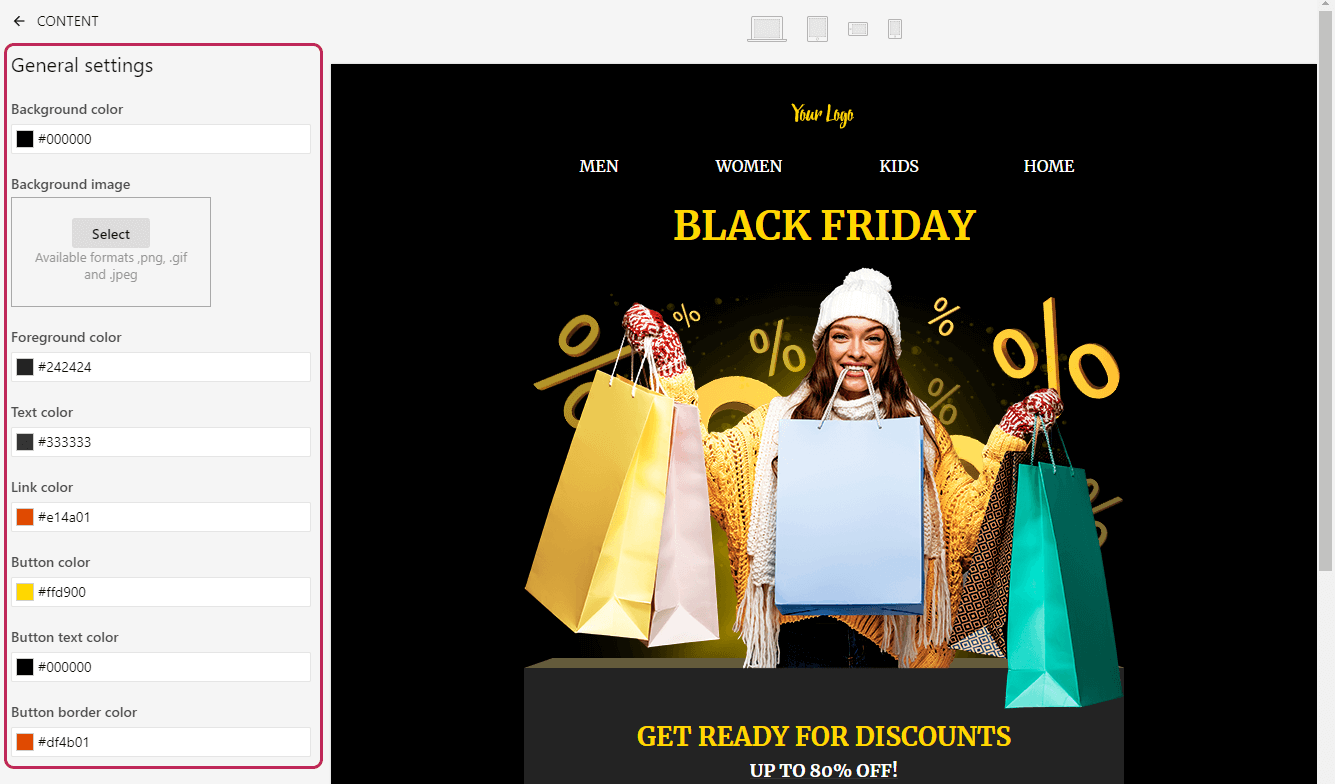
You can configure text, link and button color as well as the email background in the General settings. Pay attention that the email background is left-aligned because some email clients cannot properly center it. Background can be centered only in the section settings (in the Style tab).
5. Open your email in the preview mode
In the preview mode, you can:
- see how an email will be displayed on different devices (computer, tablet and smartphone)
- check the work of personalization and PROScript functions
To open the preview mode, click any device icon at the top of the drag-and-drop editor and select one of the following options:
- Show the letter for subscriber with no personalization data
- Show the letter with data from specific subscriber (you will have to enter the subscriber's email address)
- Show all specified personalization options
Remember that all email clients display emails differently. To view your email in a real environment, we suggest you create email accounts on the most popular domains (Gmail, Hotmail, Outlook, Yahoo) and send several test copies. Free account allows you to send only one test copy to your primary email address.